|
Astronomy: adding a rifle scope red dot sight to a
telescope |
|
|
|
I've added a red dot rifle scope to the telescope. It's
a 1x finder, and is good for aiming the scope approximately where you want
it, and then use the finder scope to zero in on things. |
|
This is a relatively simple project, and is presented as a
basic step by step. |
 |
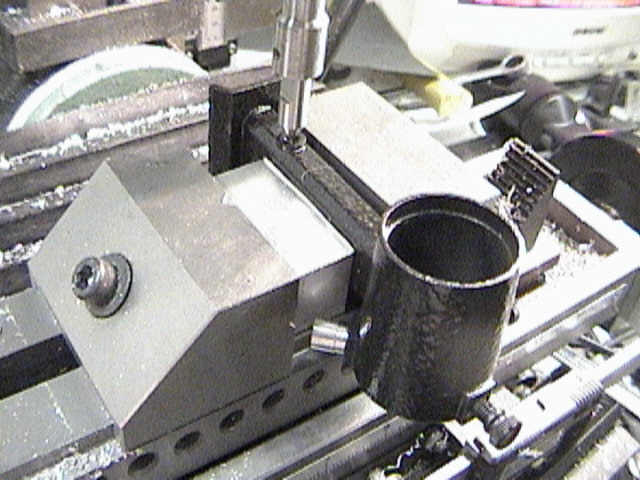
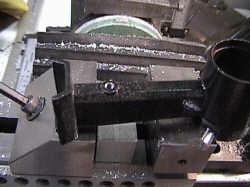
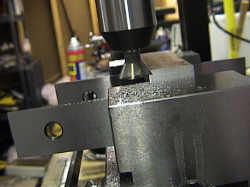
There's a small dimple on the finder scope mount. It's more or less
solid all the way through, so it seemed a good place to mount something.
Right now, I'm using a spud (pointed piece of metal) to center the hole
under the mill's spindle. This can get you within 0.005 (I
measured). |
 |
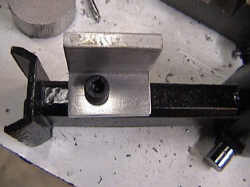
That
same spud fits the small hole in the hand tapper, so once the hole is
drilled, the hand tap is in exact alignment. This keeps the tap from
breaking as much, and produces an accurate hole. |
 |
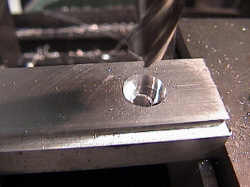
This is
a bit hard to see, but the hole is drilled and tapped. |
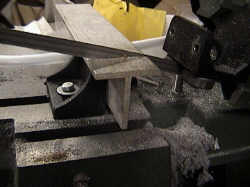 |
I'll
need a piece of T extrusion. If you don't have any, then two pieces of
angle back to back will work well. This is being cut in a horizontal
band saw specifically made for metal. |
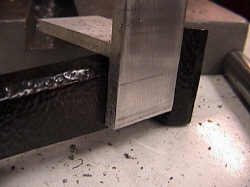 |
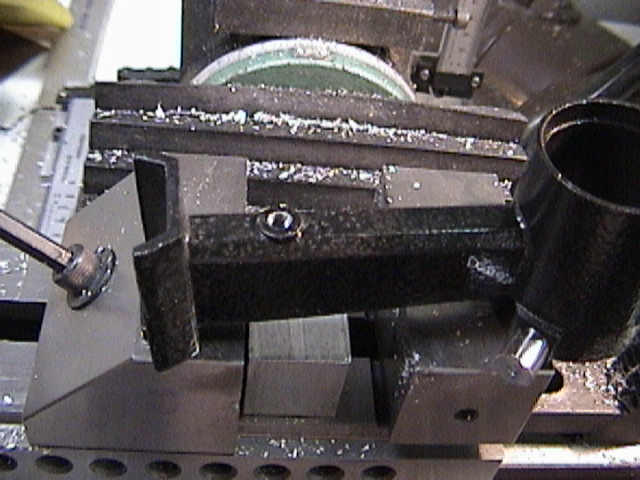
This is
the rough positioning of the T extrusion. It will have to be trimmed
to size. |
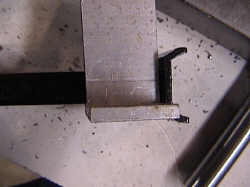 |
Here's
a bit of a top view looking down on the mount. |
 |
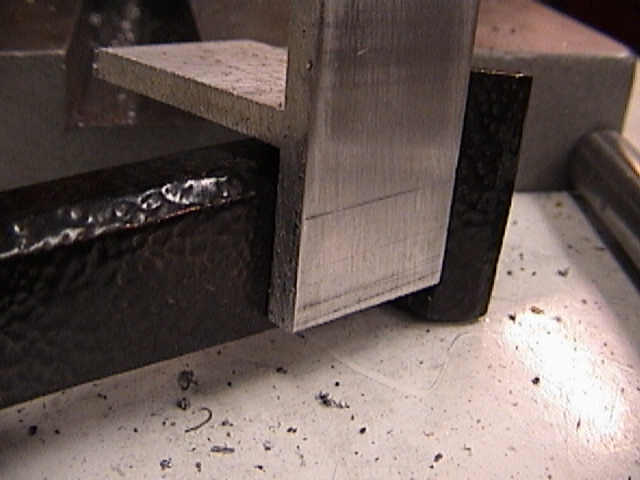
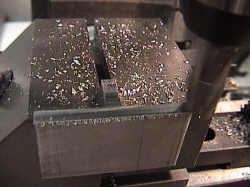
I did a
very rough saw job, and that was not even by any stretch of the imagination.
The flat part is placed in the vise, with parallels holding it above the
floor of the vise. Since the parallels are matched width, the metal is
parallel to the bottom of the vise. A few passes with the end mill
even off the top. |
 |
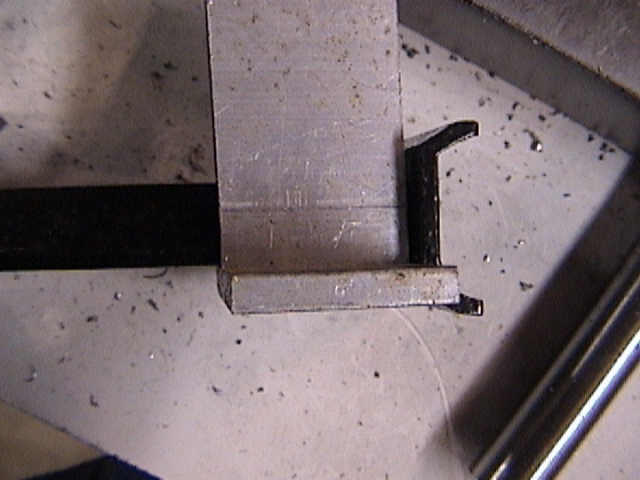
Here's
the top, trimmed a bit. Some fine emery cloth will knock off the
little fingers. |
 |
Another shot, showing the trimmed center section. You can see how it
is attached. Only one bolt is needed. I made it metric because
everything else on the scope is metric. |
 |
Next,
I have to cut dovetails. This is done by using a dovetail cutter (not
the right angle, but close enough. I needed 45 degrees, and I had 60.
The scope was made to attach to rifle rails, which are two parallel
grooves running down the barrel of a rifle or shotgun. |
 |
Final
passes on the grooves. I took a bit off each side to even it up,
although it's just a visual thing. The material is aluminum.
|
 |
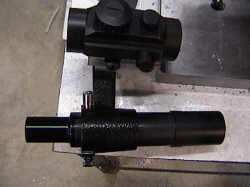
Here's
the scope mounted on the rail. Now I need to mount the rail on the T
section. |
 |
The
rail will pivot on this bolt for alignment. The countersinking (done
with a mill) is to allow the scope to fit. The head of the screw needs
to be recessed. |
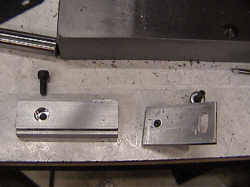 |
Here's
the pieces. The rail assembly is on the left, the mount on the right.
The bottom of the rail has a hole that is tapped, but not through. The
slot allows adjustment to align the axis with the scope's axis. |
 |
This
is a bottom view, the adjustment range is kinda needed. |
 |
Back
view. |
 |
Front
view, with the original scope added. The rifle scope is up at the top. |
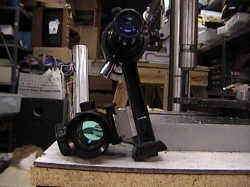 |
Front
view, the scope is a bit low to the body of the telescope, which is a bit of
a problem. Next design puts it up higher. |
|
Overall, not a bad project, nothing was particularly hard.
It's important to keep the rifle scope as far away from the scope as
possible. The only problem with this kind of thing is that there is a
tendency to run the battery down. A future design will run the LED off
a central power source. The scope was about 15 dollars at a traveling
machinery road show (Homier). |